Every year when the unit for volume comes around it seems to be one of the hardest, and most abstract, units for students. While being asked to determine the volume of a prism or pyramid students are faced with a three-dimensional shape that becomes hard for them to visualize after working for so many years with two-dimensional shapes.
This week I started back to teaching Summer School and our focus this week was to review volume… specifically solving problems involving the volume of rectangular prisms, triangular prisms, rectangular pyramids, and triangular pyramids.
Day 1 – Introduction to Volume
 We started our lesson with an oversized Post-It for a brain dump on what students remembered about volume. For some, it was remembering the components of the formula while for others it was that it involved shapes. After going over our vocabulary and stressing that volume was the amount of space a three-dimensional object takes up and relating it to 3D movies and Minecraft, we were on our way to reviewing the different three-dimensional shapes and their names. I can’t remember how many times I stood up to model a pyramid has a solid base (feet spread apart) and comes to a point (hands above head to a point) as well as a prism can be held up and seen through two bases that are the same.
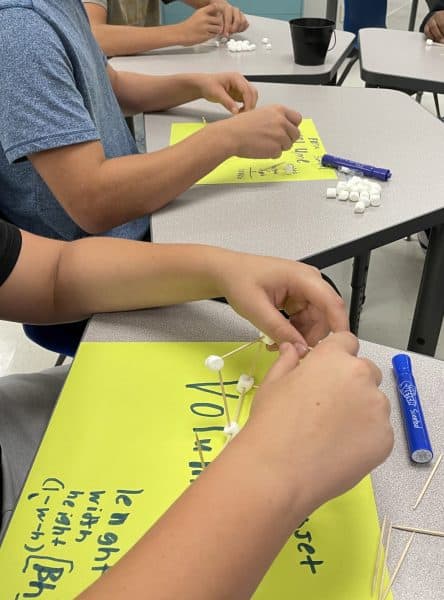
We went on to continue to use our  vocabulary by building three-dimensional shapes with marshmallows and toothpicks to help students visualize the vertices, edges, and faces of different shapes. This truly helped many of them SEE what we were talking about and the relationship between each of the components of the shapes.
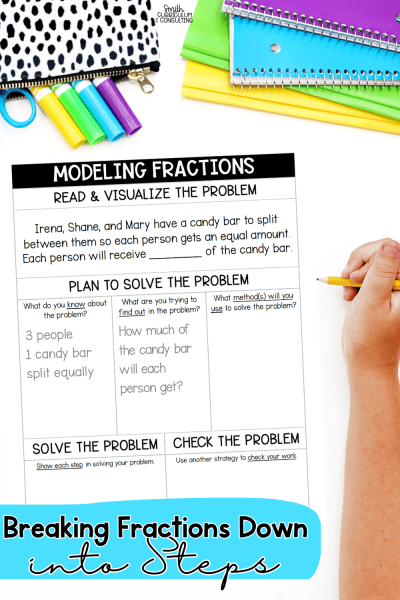
To wrap up the day, we started working on my Volume of Pyramids and Prisms Maze. A tip that I gave each of the students as we were working through a few problems together was the find the base first, use their highlighter to highlight the perimeter of the base, and then find the area of that base. This was to remind them to find the area of the base FIRST before multiplying by the height. It might have taken all week to finally get them to stop calling the formula, Volume equals base times height but I’m pretty sure this trick did help.
Day 2- Continuing Volume Practice
 Starting our second day I wanted them to practice finding volume in different ways. I whipped up a Volume Sort that allowed students to differentiate the volume of various three-dimensional figures to determine if they were greater or less than 100 cubic units.
Some of the pyramids and prisms were much easier to determine their volume than others which made students continue to be engaged. I will say that multiplying with decimals was a bit of a struggle.
Guess what? I’m giving you the VOLUME SORT for free! Yep, just click the link and enjoy! I copied the mats on one color and the cards on a different (so they stood out) and laminated them ahead of time so they would last a while.
 After reviewing the answers of the Volume Sort we went back into working on the Volume Maze we started the previous day. Working through this maze definitely provided more practice that allowed them to determine the difference between prisms and pyramids. Thankfully there was only one way to go through the maze but I will say that I made sure to “trick” them if I was able to which made them think for sure.
Day 3 and 4- Making Volume Come to Life
 As I continued to see my students struggle with multiplication facts I wanted to start incorporating some multiplication practice in our warm-ups.
To start this day I pulled out the Multiplication Square Puzzles from Mrs. E Teaches Math which made for a fun activity to start the day as I didn’t give them guidance on how it was to look when they completed.
 We used the mixed practice puzzles and it truly made my students think as they were working through the problems but also start to realize that problems such as 8 x 4 and 4 x 8 were going to give them the same product but they just had different ways of explaining group sizes. This was a true AHA moment for many.
As we completed our puzzles we moved into our project for the week which was to Build a Cityscape that included a rectangular prism, triangular prism, rectangular pyramid, and a triangular pyramid. Students worked in groups to build their blueprints before having them approved.
I will say that labeling the dimensions of their shapes were definitely the largest challenge for my students as they didn’t understand the relationship of scale for three-dimensional shapes. I found an online applet that I was able to model some three-dimensional figures which helped them realize you can’t really have a building that is 40 feet tall on one side and only 25 feet tall on the other side.
 I wanted my students to build their buildings but then also knew that with the various varieties of shapes it would be difficult with just a piece of cardstock and a ruler. Knowing this I began to guide students through the creation of three-dimensional shapes by drawing a net of the figure first.
As you can see there were several guidelines that we drew but this was to help draw straight lines throughout the entire page and build the different faces of the rectangular prism.
As you can see in this net there is one extra small face and I was SOOO happy when one of my students noticed it while at this state and mentioned it out loud. Definitely did a happy dance and celebrated them visualizing that and was able to show them shortly that it was going to be used for stability while folding our shape on the bold lines after we cut off the excess.
After building a rectangular prism we did the same for a triangular prism. I will say that I did get a little bit of help on that one by visualizing the net myself as I was guiding my students through the steps.
We did the same thing for the pyramids and then folded them together and taped them up. Currently, I have quite a collection of three-dimensional buildings around my classroom to model their cities and I think they like seeing them.
As we were wrapping up I wanted to get a feel of what my students have learned this week so I gave them the Volume Solve and Snip. Since this was their first time doing an activity like this with me I adapted it a bit from how I would normally do a Solve and Snip.
I got a ten-sided dice and rolled the dice to determine how many problems I would do with the students. They definitely were hoping for ten so they didn’t have to do any on their own. Luckily we only rolled a 5 but as to not do the first five with them in a row I went through and rolled the dice five times to get a truly random set and we ended up with three examples on the front and another two on the back. Once we had done the first three I had them go through and finish the front side. This truly did help and guide them as they were already successful on what they had done with me AND they had a model to refer to.
Final Thoughts

Now that we have completed our week on volume, I’m still working on multiplication practice as I see it as a weakness that my students have. I will be back to share with you some fun activities that we have been doing to practice our multiplication skills so they can build fact fluency during summer school.
I will continue to ask about volume so they continue to talk and discuss three-dimensional figures and build their knowledge of using length, width, and height.
Teach Me About Math Workshop!
Looking for all the latest about using Math Workshop in the Middle Grades? Join today and grab the FREE Editable Math Workshop Sheets and all of the great emails to come your way!